


How to take your photo skills and use them for video
Published September 7, 2022
666 words… 5 min read

SHARE THIS POST
You know more about video than you think you do
For every photo, there's a video equivalent. Let's unpack what you already know, using two content categories you're familiar with: Outdoor & Fashion.
🥅 Our goal: Demystify how these great videos were made and help you realize that you can do the same.
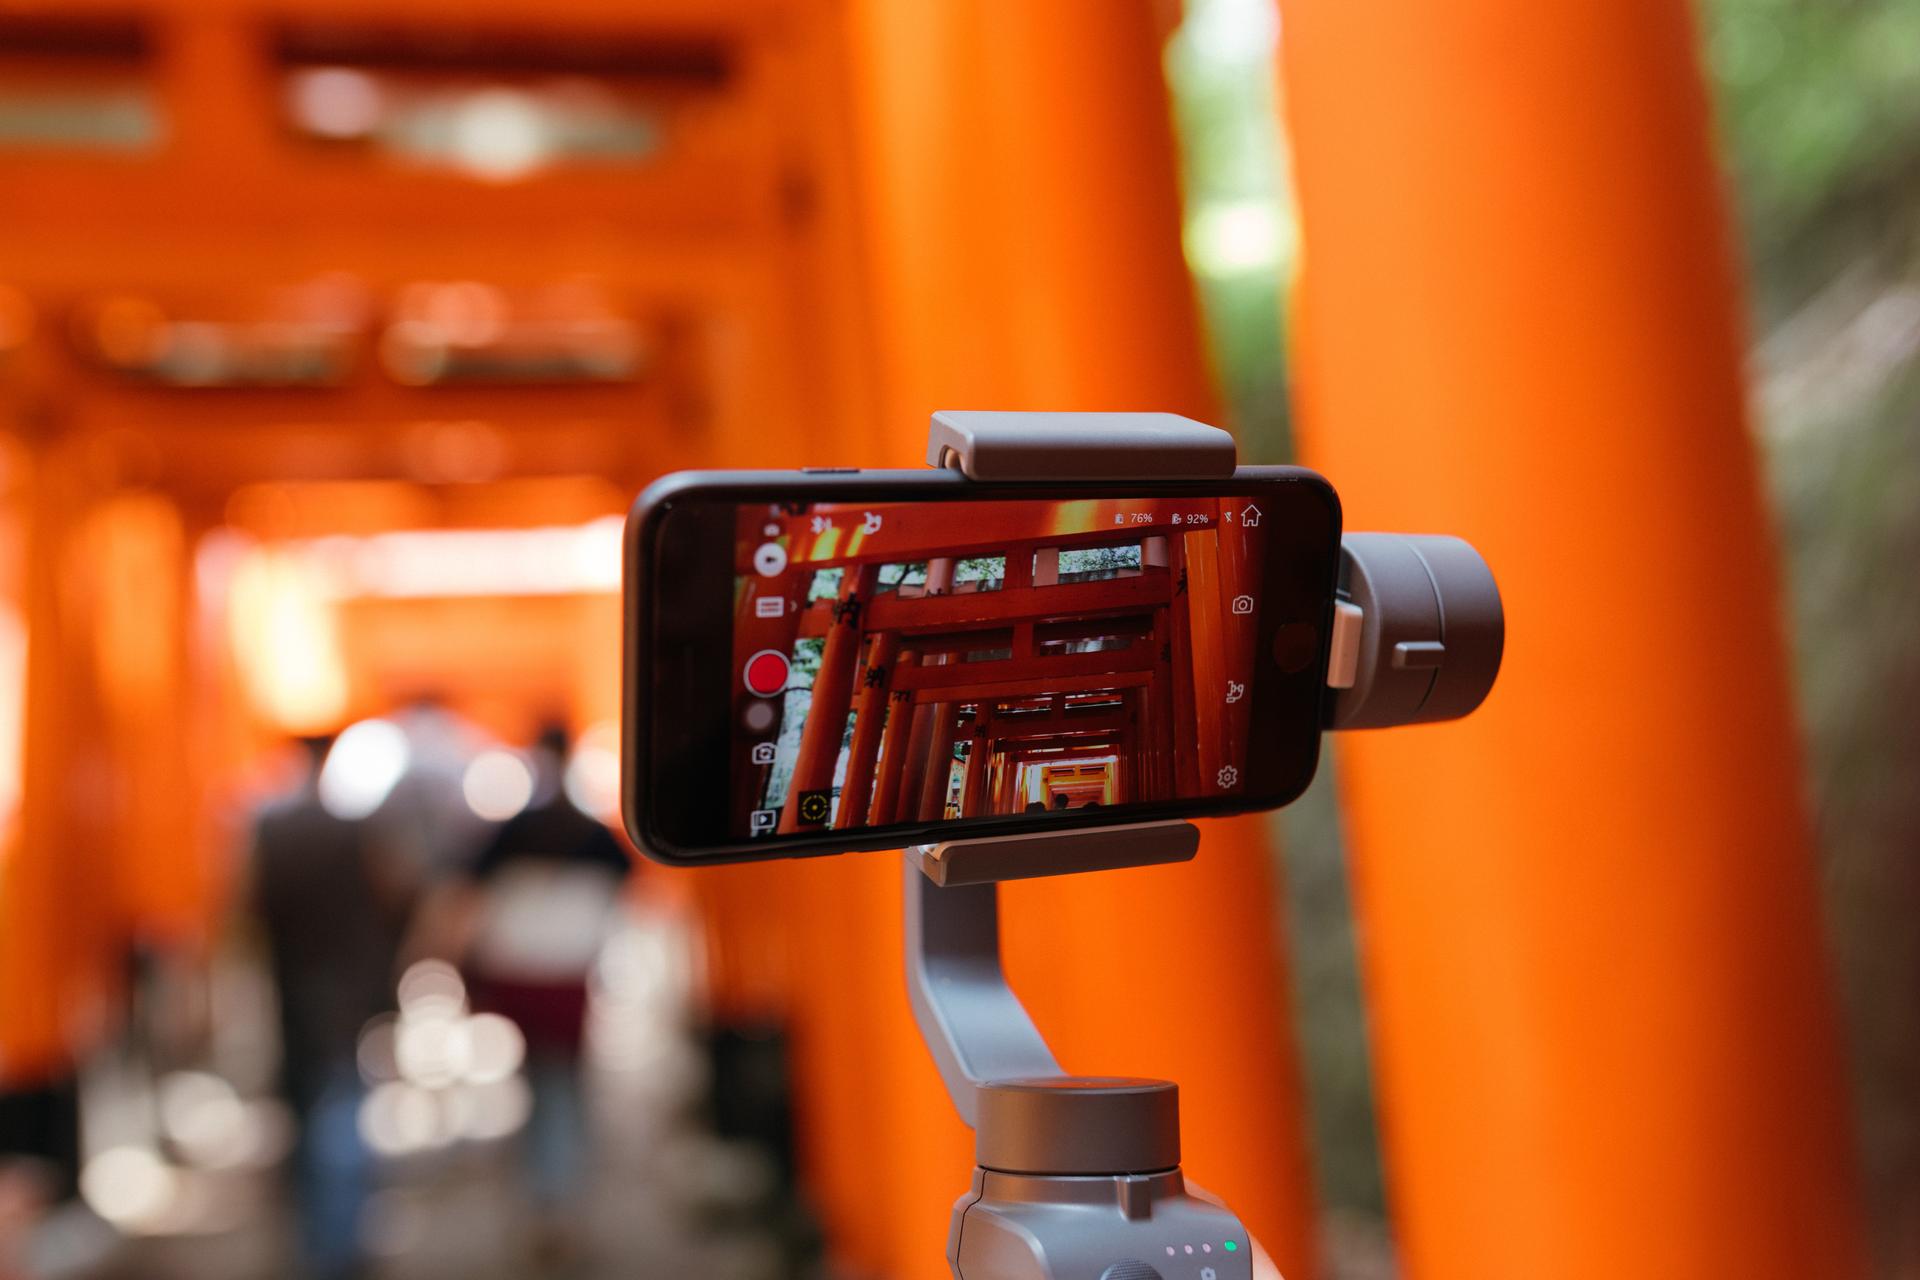
Outdoor content
Photo version


Video version
What's the same between these examples
- Both use optimal angles of the natural landscape, with the creator in the foreground.
- Each shot in this video could double as a photo. These shots are mostly static views of what's in front of you, but stitched together they make a great video.
What you already know about video
- What to capture on-camera.
What you might need to learn about video
- Editing what you capture into a video (so, everything that happens after you're done shooting).
Fashion content
Photo version
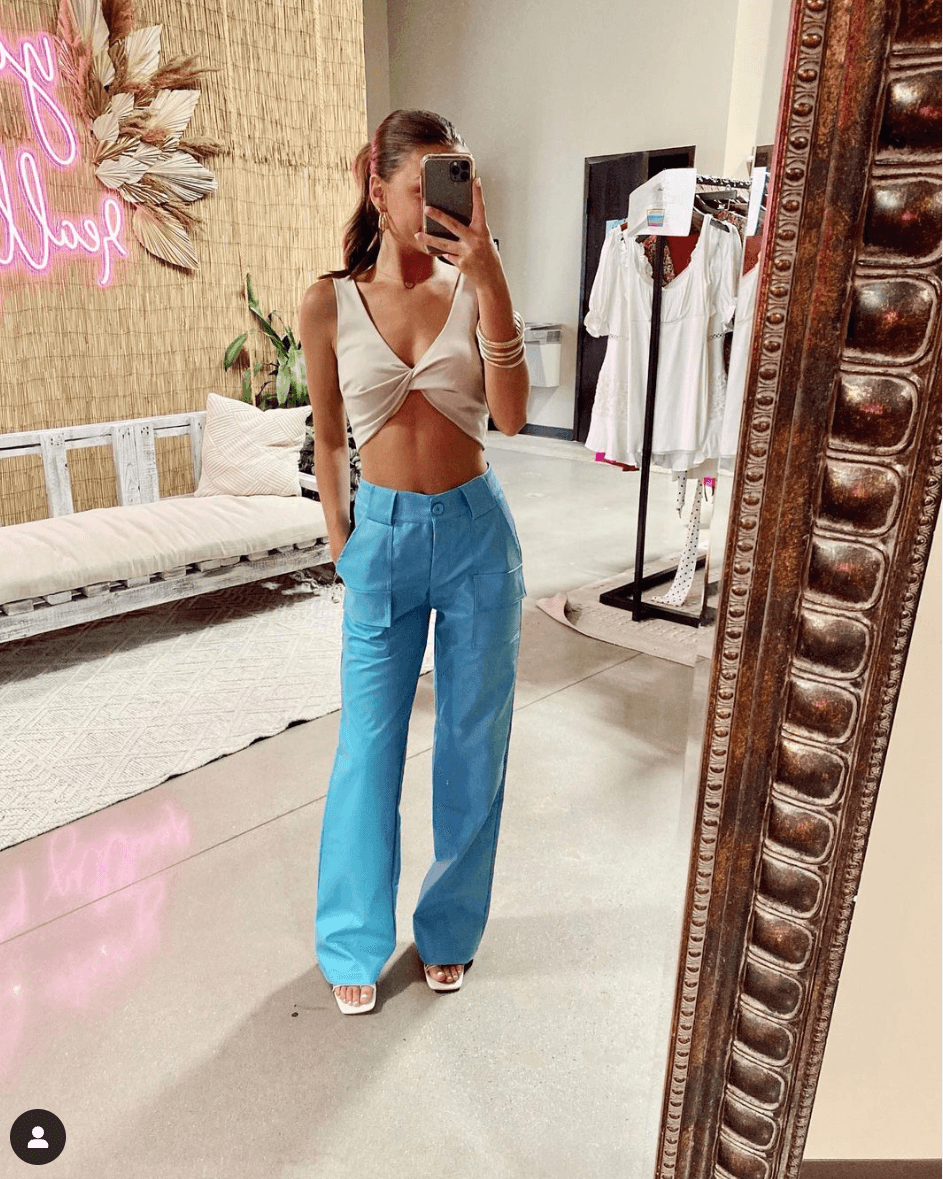
Video version
What's the same between these examples
- Both use mirror selfie camera angles and poses.
What you already know
- How to take a mirror selfie.
What you might need to learn
- How to use cool transitions between video clips to add variety to this otherwise basic shot. This creator makes it look easy—watch it a few times and you'll see that she simply starts her next shot with the same closeup she ended her last shot with.
What you (actually) need to learn to make great videos
You guessed it: how to edit videos. Let's demystify this by covering the journey from shooting videos to stitching them together.
Get lots of video coverage to pick from
While shooting your content, think of it like you're gathering video clips to stitch together later.
💡
So, if you notice compelling visuals throughout your day, recipe, or outfit changes, etc. — just get a few seconds on camera (10 seconds is usually enough).
This video coverage doesn't have to be super high quality. Below is a screenshot of a few clips I got of my day recently—anyone can take videos like these. You're simply giving yourself a lot of material to work with.


Select your video clips
Now that you have your footage, go on TikTok or Instagram and select the clips you want in your video, in the order in which you want them to appear. You can rearrange this later if needed.
💡
Notice the circles with a white number inside them in each selected video thumbnail. That's the order in which your videos will play when stitched together


On Instagram, you need to tap the content icon in the top right corner to select multiple clips.
Automatically sync your clips to music (if applicable)
TikTok and Instagram will automatically sync your videos to a song of your choice! This is useful if you're not talking in your video and you just captured compelling visuals.


Stitch the best parts of your clips together
You got lots of coverage, but you're not going to use all of it. You're gonna stitch together the best parts to tell your story. Let's do this.
On TikTok, after you've selected your clips, go to Studio > Adjust, and tap on the timeline to adjust which sections of each clip you want to cut. It becomes intuitive once you play around with it.


On Instagram, after you've selected your clips, go to Edit clips and adjust which sections of each clip you want to cut. It's very similar to TikTok—you'll get the hang of it after a bit.

4 ideas to get you started
🎥 Here are four easy video ideas that generate lots of engagement on Instagram Reels and TikTok. Start with any of these and make them your own!
SHARE THIS POST
Keep Reading
All Posts